Making this site
Making this website!!
The techstack used to develop this site was: Next.js (typescript) | AWS S3 | Supabase
During my semester break I decided to develop a site to showcase some of my projects, designs and photos. The aim of developing this site was to learn as many frameworks and technologies as possible (with out overwhelming myself with too many different tools 😅), this also meant I used AWS S3 for my image storage bucket, when alternatively I could have just used Supabase's equivalent feature.
The Content Management System (CMS)
Here I decided to create my own CMS as it would allow me to update the site wherever I am on whatever computer, it would also make it much easier if I wanted to add content when on my phone. (also it's seemed like a really good learning experience so I decided to make mine from scratch rather than use some that have already been established).
Since Supabase provides a fairly easy method of communication with the frontend I didn't need to create a seperate backend app for the communication with the database.
Project / Photo posting
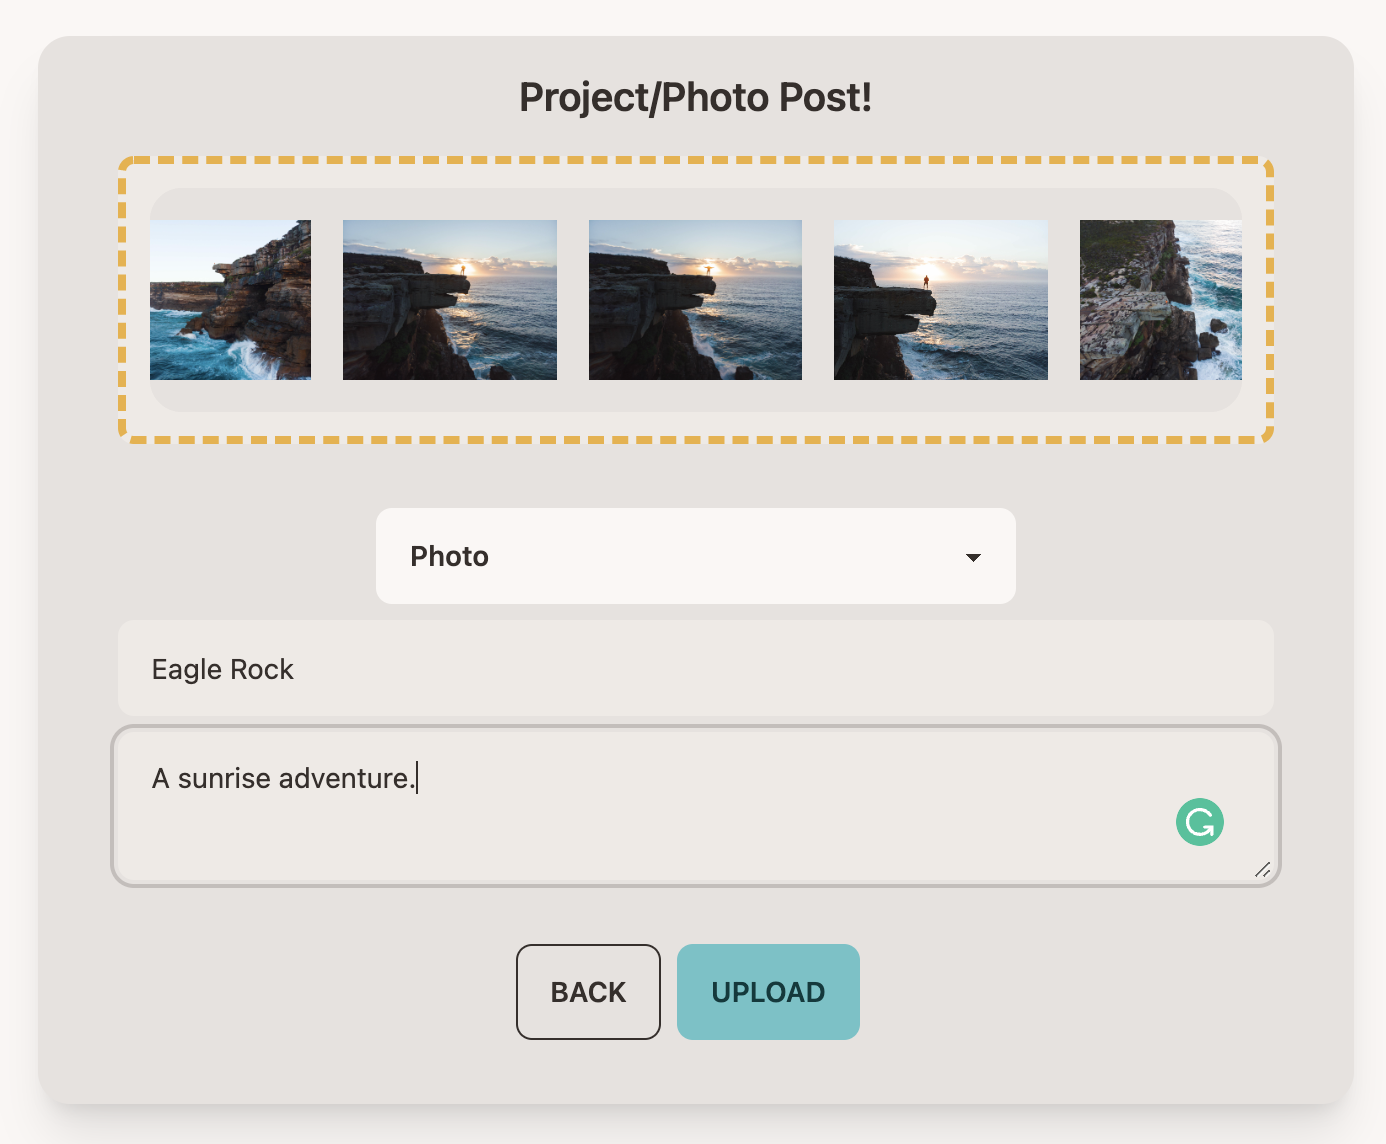
I started by devloping a method for posting content such as Projects and Photos. Since Supabase is a PostgreSQL database I needed to understand what types/coloums I would need for the tables. In the end I came up with a general outline which included a list of image links (the links that have been uploaded to S3), thumbnail image link, description and title. The final look for this was:
Posting Blogs
This was possibly the biggest task for the website as I started going down a rabbit hole of different technologies and tools that I could use. After a lot of research I was able to settle on using MDX for the blogs. After this I also needed to understand how I could edit this online.
After again a lot of research I came across an editor that I could actually edit code live on the site, after a lot of styling and tinkering I finally came up with this look:

The image above also has a few buttons on the top right, these are Upload, image copy/paste bin, standard copy paste
Copy paste bin
The upload and copy paste are very straight forward and do exactly what you would think, however whats really cool is the image copy/paste bin.
Before I explain what it is, I'll explain why I made this. So, usually when I develop documents especially for university projects and reports, I need to take a bunch of screenshots that need to be inserted into the document. Usually this process is fairly easy especially when im using standard editors such as gdocs or ms-word; however, whenever I use latex or md to create documents pasting images into the ediors gets infinitely more annoying. I have to save the image to desktop then copy the file into the src directory, then reference it correctly.
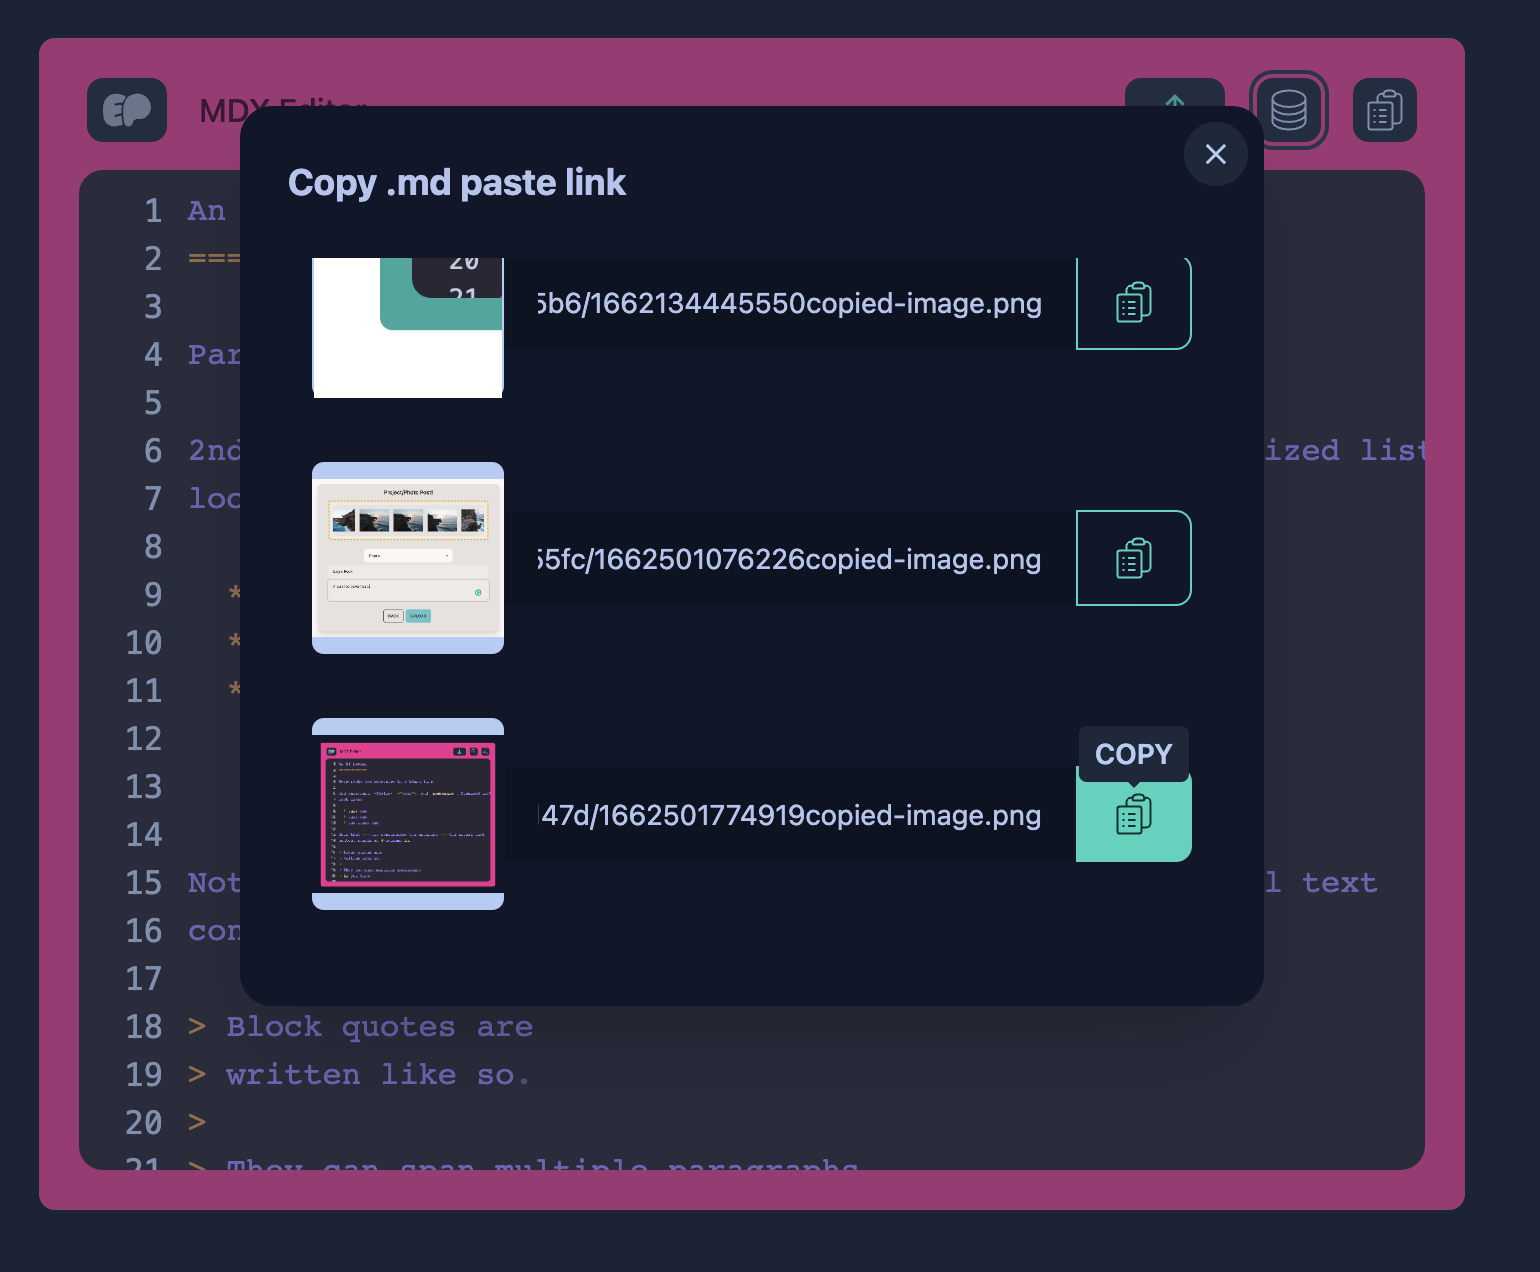
So, to ensure I did not have to deal with these issues with my editor I intercepted any paste actions on the code block and checked if it was an image; if so, upload this image to S3 then have a pop-up display the image and a copy icon to fomat it correctly and link it into the mdx file. The image below shows what I did for this very document:
The code that gets copied looks like this:
So when you want to add images the process is completely streamlined.
Live view
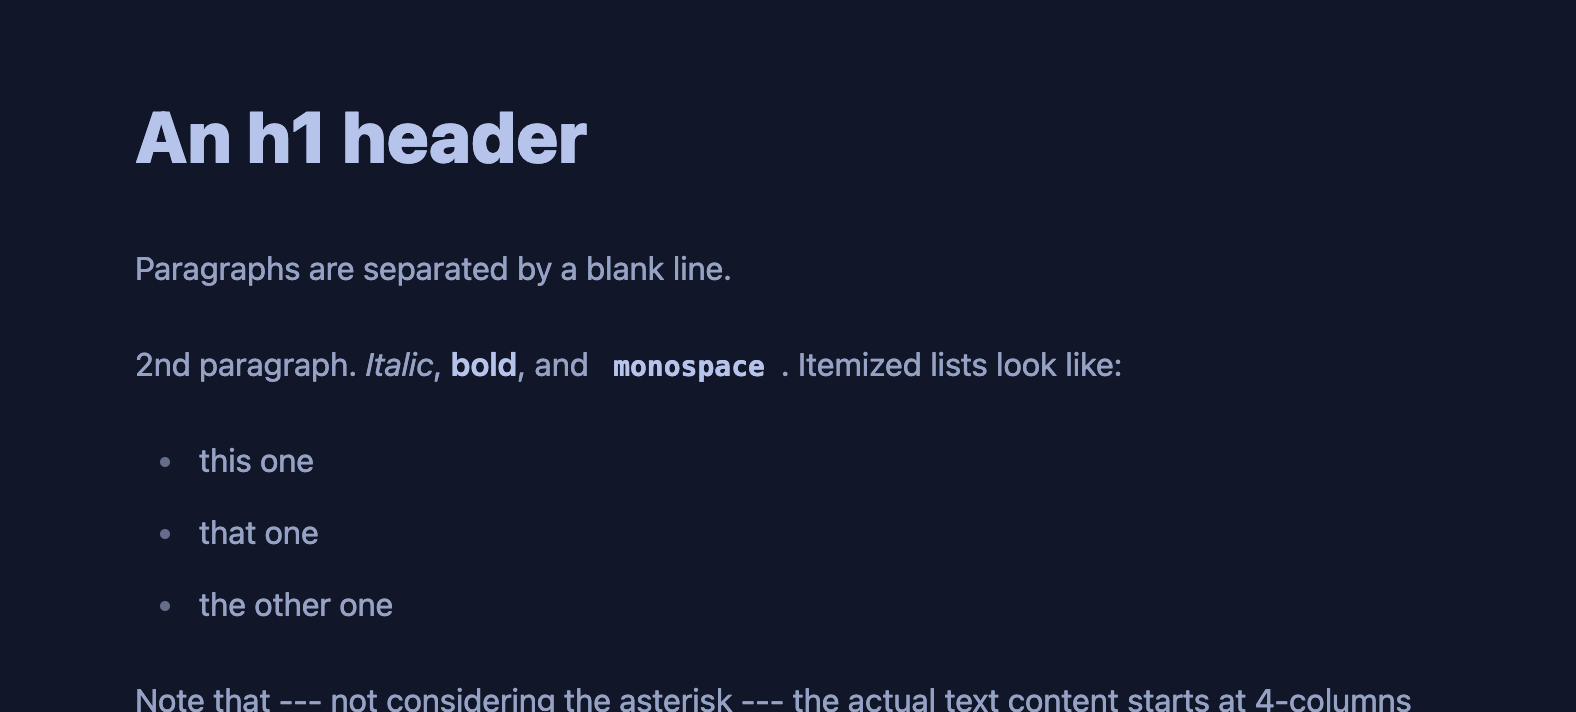
Finally, I had to create a live renderer for the mdx content that would get displayed so I could see exactly what would get generated when I post the blog. This was very tricky since there aren't a lot of mdx renders out there since its fairly new, however after many hours of debugging with parsers AST trees and syntax highlighting libraries such as prisim, I finally got it to display and it looks something like this:
Posting resume
Finally posting the resume was the easiest with just a simple file uploader for the .pdf I give.
The Front End
Using tailwind for the styling here I created all the pages layouts and structure with the nextjs paging structure.
Slugs
To firstly explain what slugs are, here is what the next documentation says:
Defining routes by using predefined paths is not always enough for complex applications. In Next.js you can add brackets to a page (
[param]) to create a dynamic route (a.k.a. url slugs, pretty urls, and others).
This was something I definitely wanted as I loved the idea of being able to index the pages on my site by just title.
Server Side Rendering (SSR)
To ensure all my pages had decent load times especially since my site had a lot of images I ensured all static content was genereated on the server during build time ensuring the client was doing the bare minimum when it comes to page loads. This drastically decreased my page load times, performing much better.
Conclusion
Overall this project taught me so much about the development process and many aspects that need to be considered when developing a site. I also learnt a lot in regard to time management, since I had to finish this project within 1.5 weeks (UNSW term breaks smh). It required me to make effecient choices when it came to development strategies and design choices.
Finally, I would also like to give a shout out to Soorriamoorthy Saruva who helped me with advice in tools and frameworks to use when devloping this site. Check out his website here ✅